A UML use case with PowerDesigner
Once I had a new task: to create Use
case diagram, and I found a program PowerDesigner. This took for me
a couple of hours and now I give you a tutorial!
I should notice, that I don’t know
a manufacturer of this program and it has free trial period of 30 days.
How to create Use case diagram in PowerDesigner.
1.
Download program and launch it. While
installation choose appropriate language.
2.
Create a new model: go to tab "File" and
choose "Use Cases
Definition".
3.
Now a new workspace is opened. To the right
you can find Toolbox (we are interested in group “Use case diagram”), and to
the left – structure of workspace with the objects.
4. For diagram element creation you can use
Toolbox or choose one on the "Model" tab.
5. After you finished to drawing an element,
you should to switch pointer to “Object selector”.
6. If you need to create a relation between
elements, you can use Toolbox or choose one the "Model" tab.
7. If you go to the "Model" tab, then
a window of a new relation is opened. If you use another way and want to modify
relation, then just double-click on relation line.
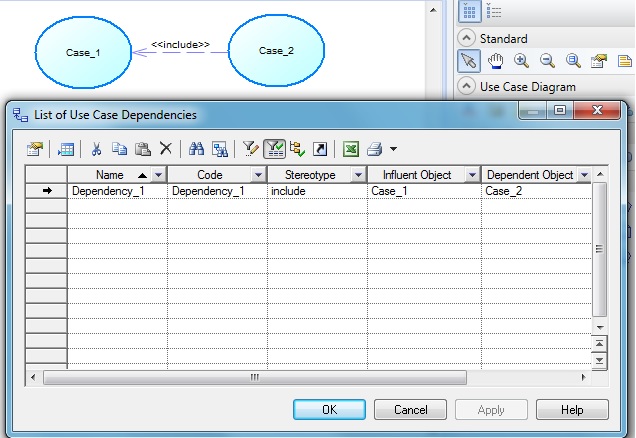
For displaying a
type of relation under its line, you should to fill the field “Stereotype”.
8. More
diagram elements can be found through tab “Model”.
Following
these steps, you can create Use case diagram. If you want to share your experience
in diagram creation field, then leave a comment! It would be very interesting
and useful!


Комментарии
Отправить комментарий